Amazon QuickSight
Depositori reads QuickSight’s datasets: their tables, joins, columns and calculated fields, and, when it may, the calculated fields of analyses and dashboards. It never queries a dataset, never reads the data in SPICE, and never changes anything in AWS.
There are two ways in. Files need no AWS access for Depositori; a connection lets you pick datasets from a list and read them again later.
From files
Section titled “From files”- Choose Upload files on the guided start, or the + beside Models, then Amazon QuickSight.
- Export the definitions with the AWS command line. The hint on the screen gives the exact commands. Either:
- one file per dataset from
aws quicksight describe-data-set, plusdescribe-data-sourceso the database is known, anddescribe-analysis-definitionordescribe-dashboard-definitionfor their calculated fields; or - an asset bundle:
start-asset-bundle-export-jobwith--export-format QUICKSIGHT_JSON, unzipped.
- one file per dataset from
- Upload the files. The datasets become one model.
Through a connection
Section titled “Through a connection”Before you start
Section titled “Before you start”- The Owner role in Depositori.
- QuickSight Enterprise edition: the Standard edition’s API doesn’t describe datasets.
- The AWS account ID (12 digits) and the Region your datasets are in, and the Namespace if you use one.
- An AWS access key for Depositori, from your AWS admin. Best is an IAM user that may only assume one role,
with that role (and its external ID) on the key. Temporary keys (starting with
ASIA) are refused. - The key’s user, or the role it assumes, has this policy. The second statement is optional: without it the list has no folders, and analyses and dashboards are not read.
{"Version": "2012-10-17", "Statement": [ {"Sid": "DepositoriReadDatasets", "Effect": "Allow", "Resource": "*", "Action": ["quicksight:ListDataSets", "quicksight:DescribeDataSet", "quicksight:DescribeDataSource"]}, {"Sid": "DepositoriReadFoldersAndAnalyses", "Effect": "Allow", "Resource": "*", "Action": ["quicksight:ListFolders", "quicksight:ListFolderMembers", "quicksight:DescribeFolder", "quicksight:ListAnalyses", "quicksight:DescribeAnalysisDefinition", "quicksight:ListDashboards", "quicksight:DescribeDashboardDefinition"]}]}The app shows the same policy under The rights this login needs in AWS, in the dataset list and the login dialog.
Store the key
Section titled “Store the key”- On Connections, under Source accounts, or from Add a login in the connection dialog, pick the kind AWS access key.
- Fill in the Access key ID and the Secret access key, and, if the key assumes a role, the Role to assume and the External ID of the role.
The secret and the external ID are stored encrypted, and nobody can view them again. To change the role or its external ID later, type the secret access key again. Remove the external ID removes it on its own, on the next save with the secret; Keep it undoes that.
Add the connection
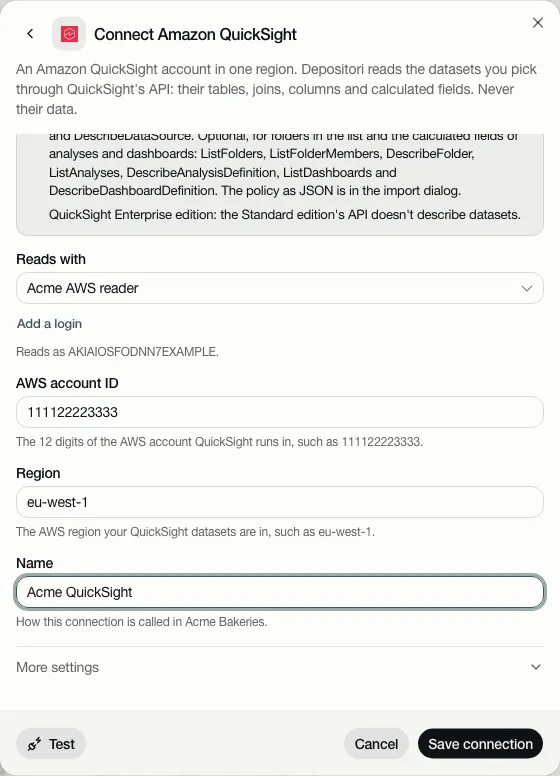
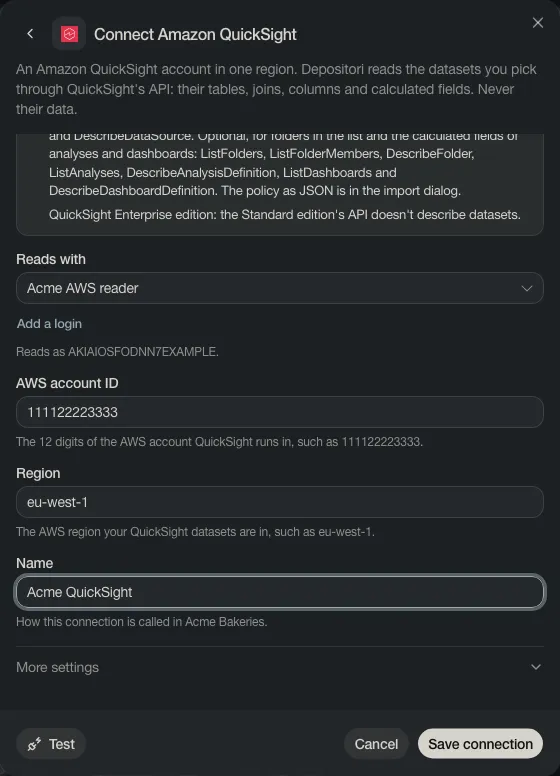
Section titled “Add the connection”- Choose Add connection, then Amazon QuickSight.
- Under Reads with, pick the AWS access key.
- Fill in the AWS account ID, the Region and a Name. The Namespace is under More settings.
- Test, then Save connection.
Pick the datasets
Section titled “Pick the datasets”Choose Add as a model, right after saving or on the card, or Read datasets in Add a model. Depositori lists the datasets the key can see, grouped by folder and marked SPICE or direct query. Search, pick the ones you want, and read them. They become one model, read in the background. Read it again later from the model’s menu.
What Taki can do
Section titled “What Taki can do”Taki answers about a QuickSight model’s definitions: what a field means and how it is calculated. It can’t give its numbers: there is no Taki may query for QuickSight.